Deploy to Vercel
Copy page
Deploy the Inkeep Agent Framework to Vercel
Deploy to Vercel
Step 1: Create a GitHub repository for your project
If you do not have an Inkeep project already, follow these steps to create one. Then push your project to a repository on GitHub.
Step 2: Create a Postgres Database
Create a Postgres database on the Vercel Marketplace or directly at Neon.
Step 3: Configure Database Connection
Set your database connection string as an environment variable:
Step 4: Create a Vercel account
Sign up for a Vercel account here.
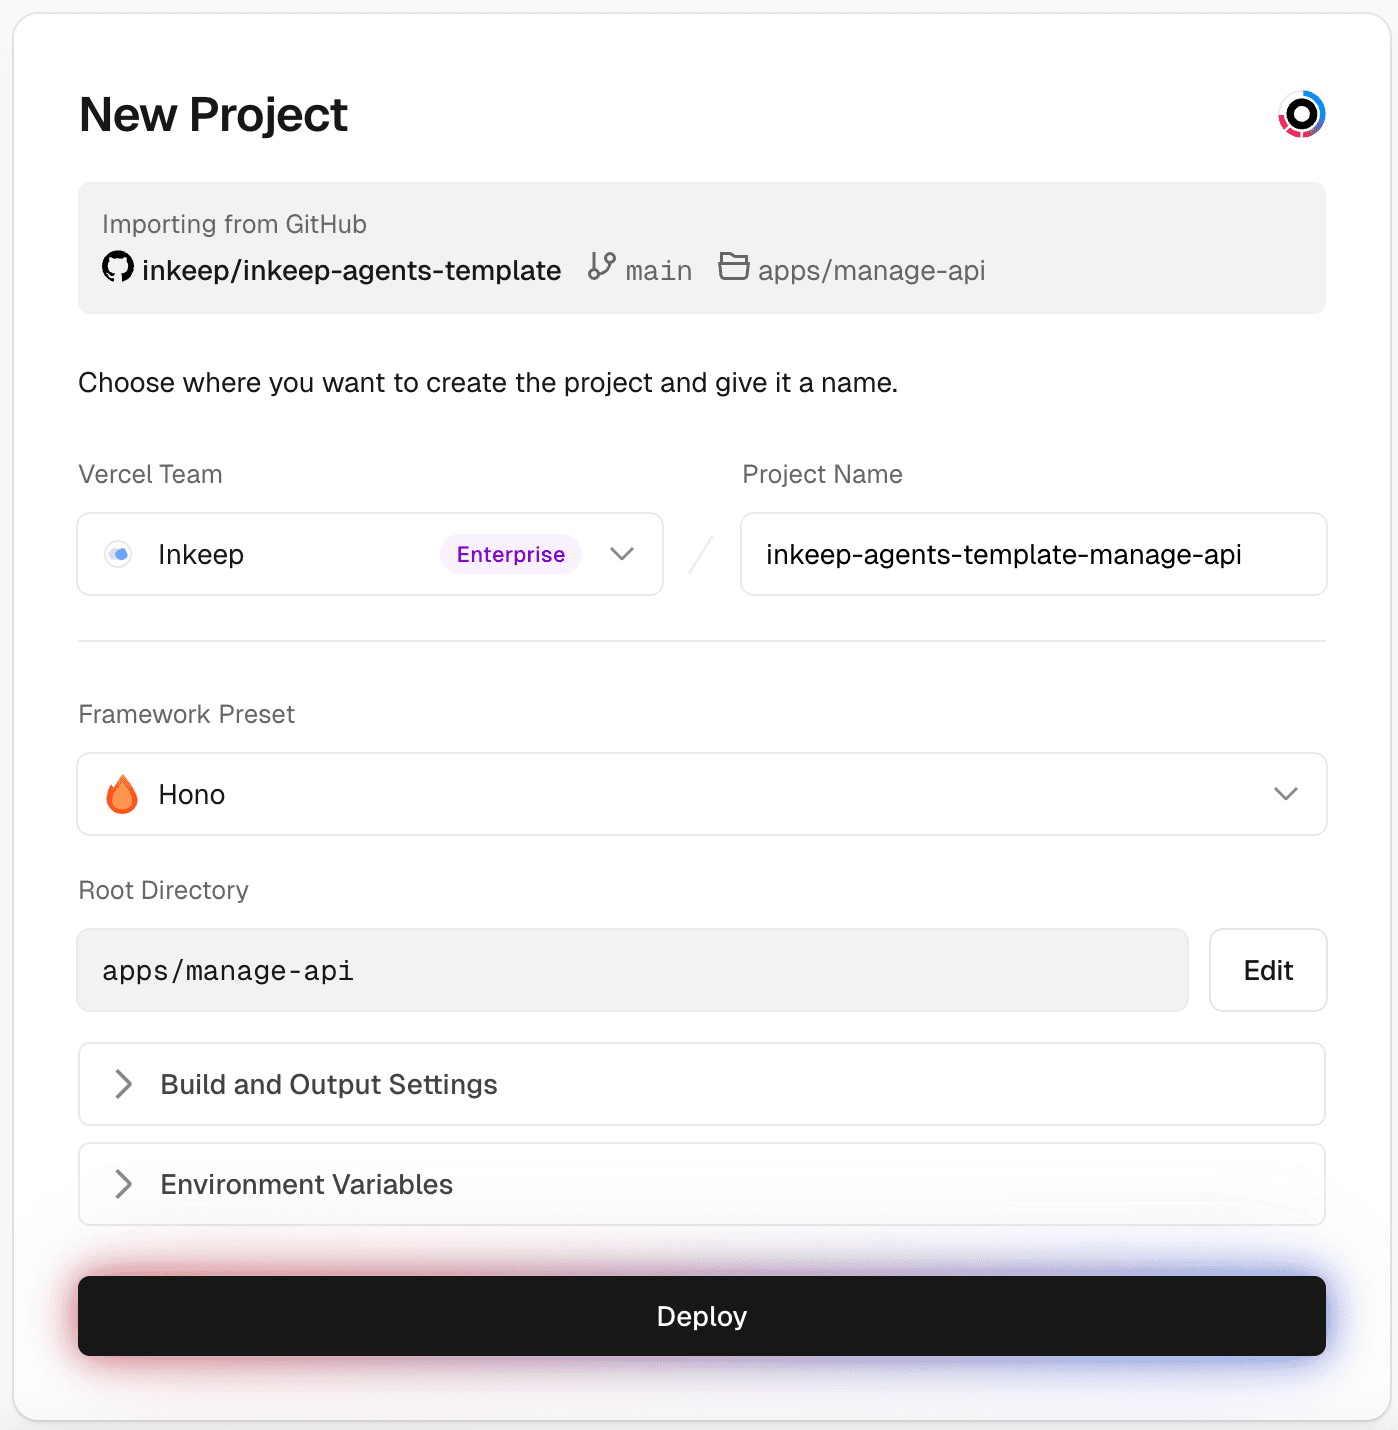
Step 5: Create a Vercel project for Manage API

The Framework Preset should be "Hono" and the Root Directory should be
apps/manage-api.
Required environment variables for Manage API:
| Environment Variable | Value |
|---|---|
ENVIRONMENT | production |
INKEEP_AGENTS_MANAGE_API_BYPASS_SECRET | Run openssl rand -hex 32 in your terminal to generate this value. Save this value for INKEEP_AGENTS_MANAGE_API_BYPASS_SECRET in Step 7. |
DATABASE_URL | Postgres connection string from Step 3 (e.g., postgresql://user:password@host:5432/database) |
NANGO_SECRET_KEY | Nango secret key from your Nango Cloud account. Note: Local Nango setup won't work with Vercel deployments. |
NANGO_SERVER_URL | https://api.nango.dev |
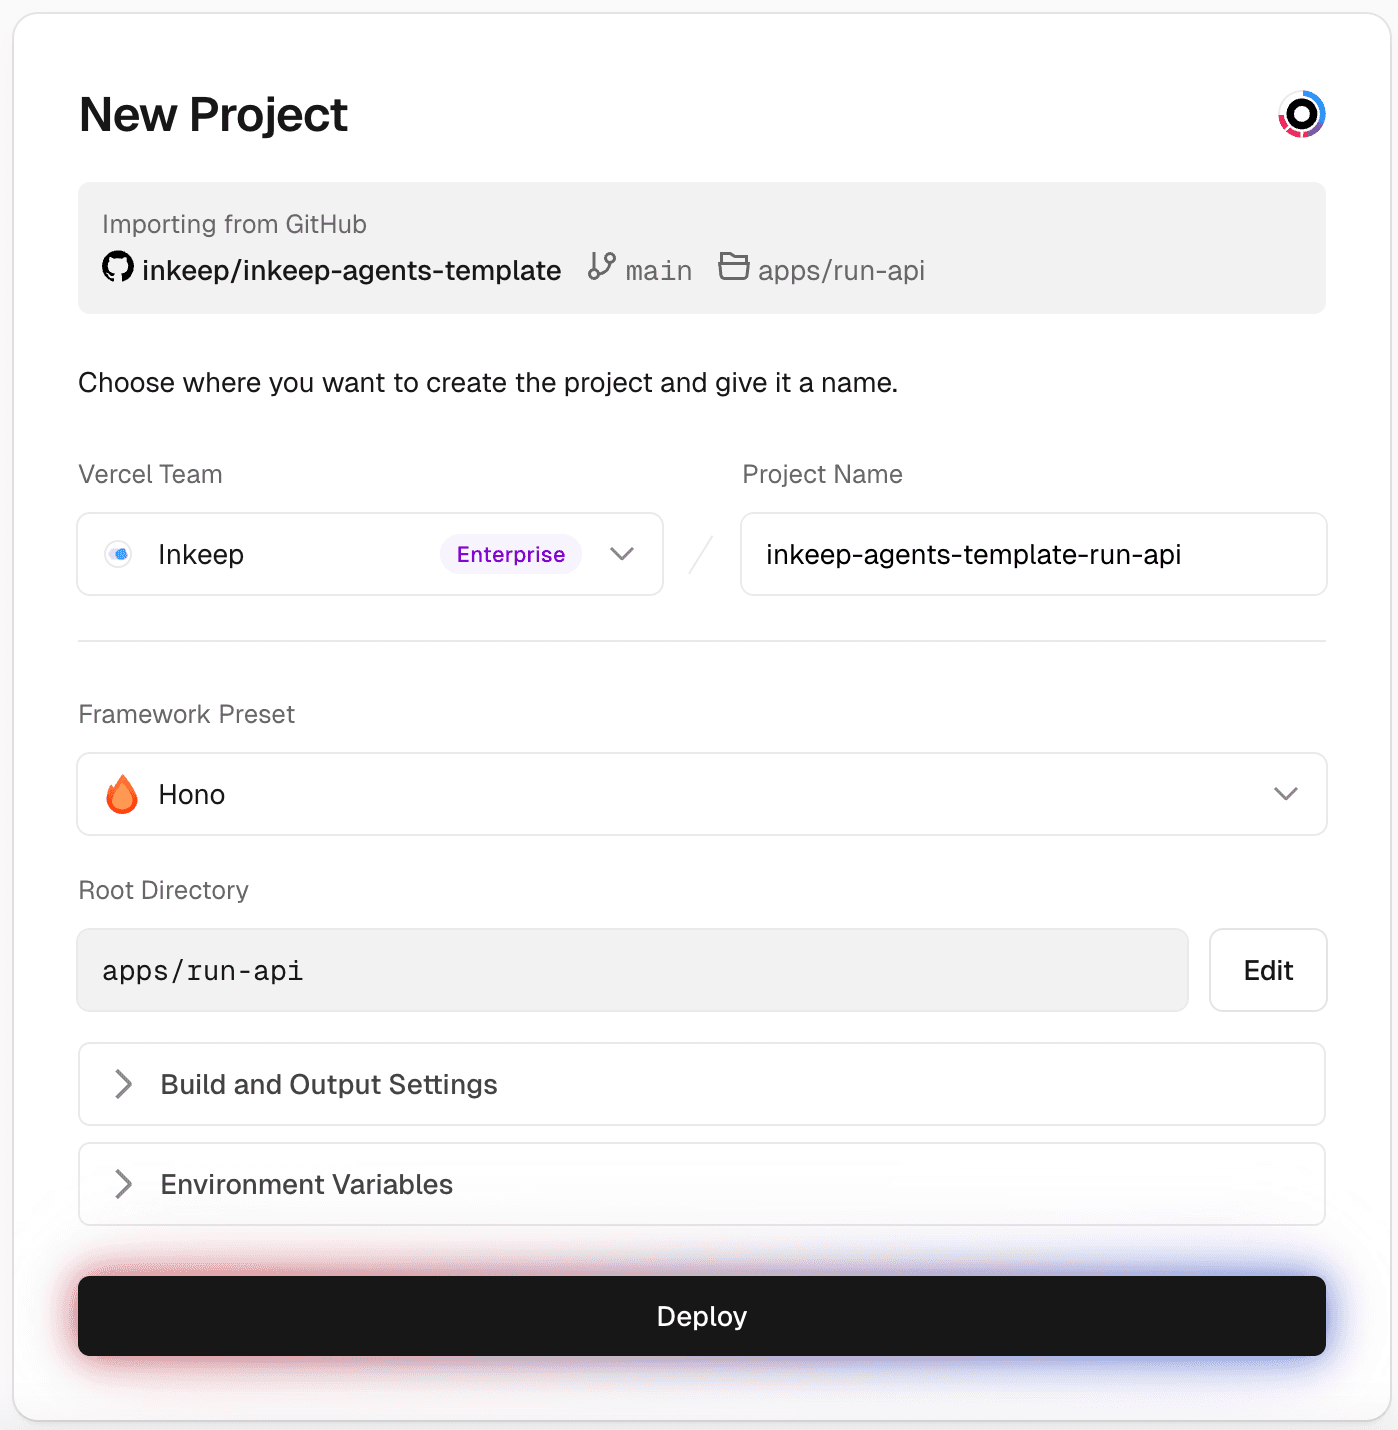
Step 6: Create a Vercel project for Run API

The Framework Preset should be "Hono" and the Root Directory should be
apps/run-api.
Required environment variables for Run API:
| Environment Variable | Value |
|---|---|
ENVIRONMENT | production |
ANTHROPIC_API_KEY | Your Anthropic API key |
OPENAI_API_KEY | Your OpenAI API key |
GOOGLE_GENERATIVE_AI_API_KEY | Your Google Gemini API key |
INKEEP_AGENTS_RUN_API_BYPASS_SECRET | Run openssl rand -hex 32 in your terminal to generate this value. Save this value for INKEEP_AGENTS_RUN_API_BYPASS_SECRET in Step 7. |
DATABASE_URL | Postgres connection string from Step 3 (e.g., postgresql://user:password@host:5432/database) |
NANGO_SECRET_KEY | Nango secret key from your Nango Cloud account. Note: Local Nango setup won't work with Vercel deployments. |
OTEL_EXPORTER_OTLP_TRACES_ENDPOINT | https://ingest.us.signoz.cloud:443/v1/traces |
OTEL_EXPORTER_OTLP_TRACES_HEADERS | signoz-ingestion-key=<your-ingestion-key>. Use the instructions from SigNoz Cloud Setup to configure your ingestion key. Note: Local SigNoz setup won't work with Vercel deployments. |
NANGO_SERVER_URL | https://api.nango.dev |
INKEEP_AGENTS_JWT_SIGNING_SECRET | Run openssl rand -hex 32 in your terminal to generate this value. Save this value for INKEEP_AGENTS_JWT_SIGNING_SECRET in Step 7. |
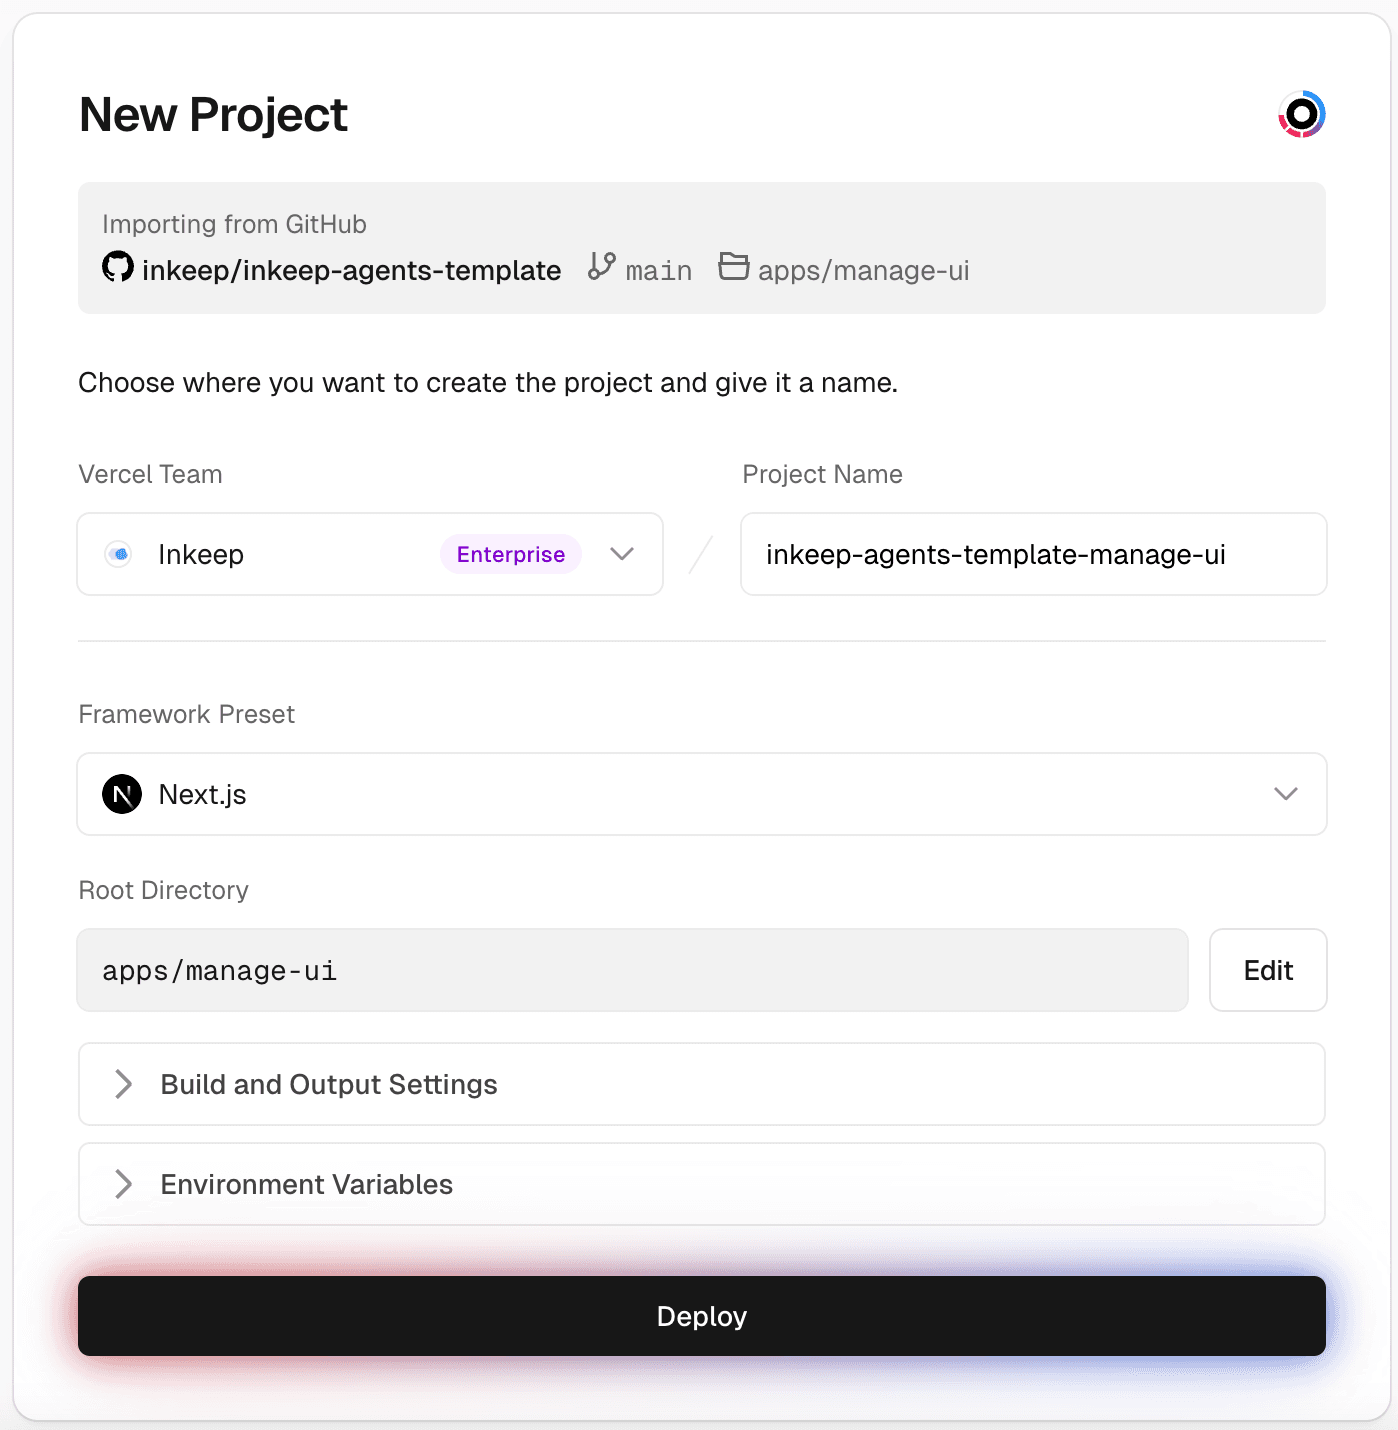
Step 7: Create a Vercel project for Manage UI

The Framework Preset should be "Next.js" and the Root Directory should be
apps/manage-ui.
Required environment variables for Manage UI:
| Environment Variable | Value |
|---|---|
ENVIRONMENT | production |
PUBLIC_INKEEP_AGENTS_RUN_API_URL | Your Vercel deployment URL for Run API |
PUBLIC_INKEEP_AGENTS_RUN_API_BYPASS_SECRET | Your generated Run API bypass secret from Step 6 |
PUBLIC_INKEEP_AGENTS_MANAGE_API_URL | Your Vercel deployment URL for Manage API (skip if same as INKEEP_AGENTS_MANAGE_API_URL) |
INKEEP_AGENTS_MANAGE_API_URL | Your Vercel deployment URL for Manage API |
INKEEP_AGENTS_MANAGE_API_BYPASS_SECRET | Your generated Manage API bypass secret from Step 5 |
PUBLIC_SIGNOZ_URL | Use the instructions from SigNoz Cloud Setup to configure your SigNoz URL. Note: Local SigNoz setup won't work with Vercel deployments. |
SIGNOZ_API_KEY | Use the instructions from SigNoz Cloud Setup to configure your SigNoz API key. Note: Local SigNoz setup won't work with Vercel deployments. |
NANGO_SECRET_KEY | Nango secret key from your Nango Cloud account. Note: Local Nango setup won't work with Vercel deployments. |
PUBLIC_NANGO_SERVER_URL | https://api.nango.dev |
PUBLIC_NANGO_CONNECT_BASE_URL | https://connect.nango.dev |
Step 8: Enable Vercel Authentication
To prevent anyone from being able to access the UI, we recommend enabling Vercel authentication for all deployments: Settings > Deployment Protection > Vercel Authentication > All Deployments.
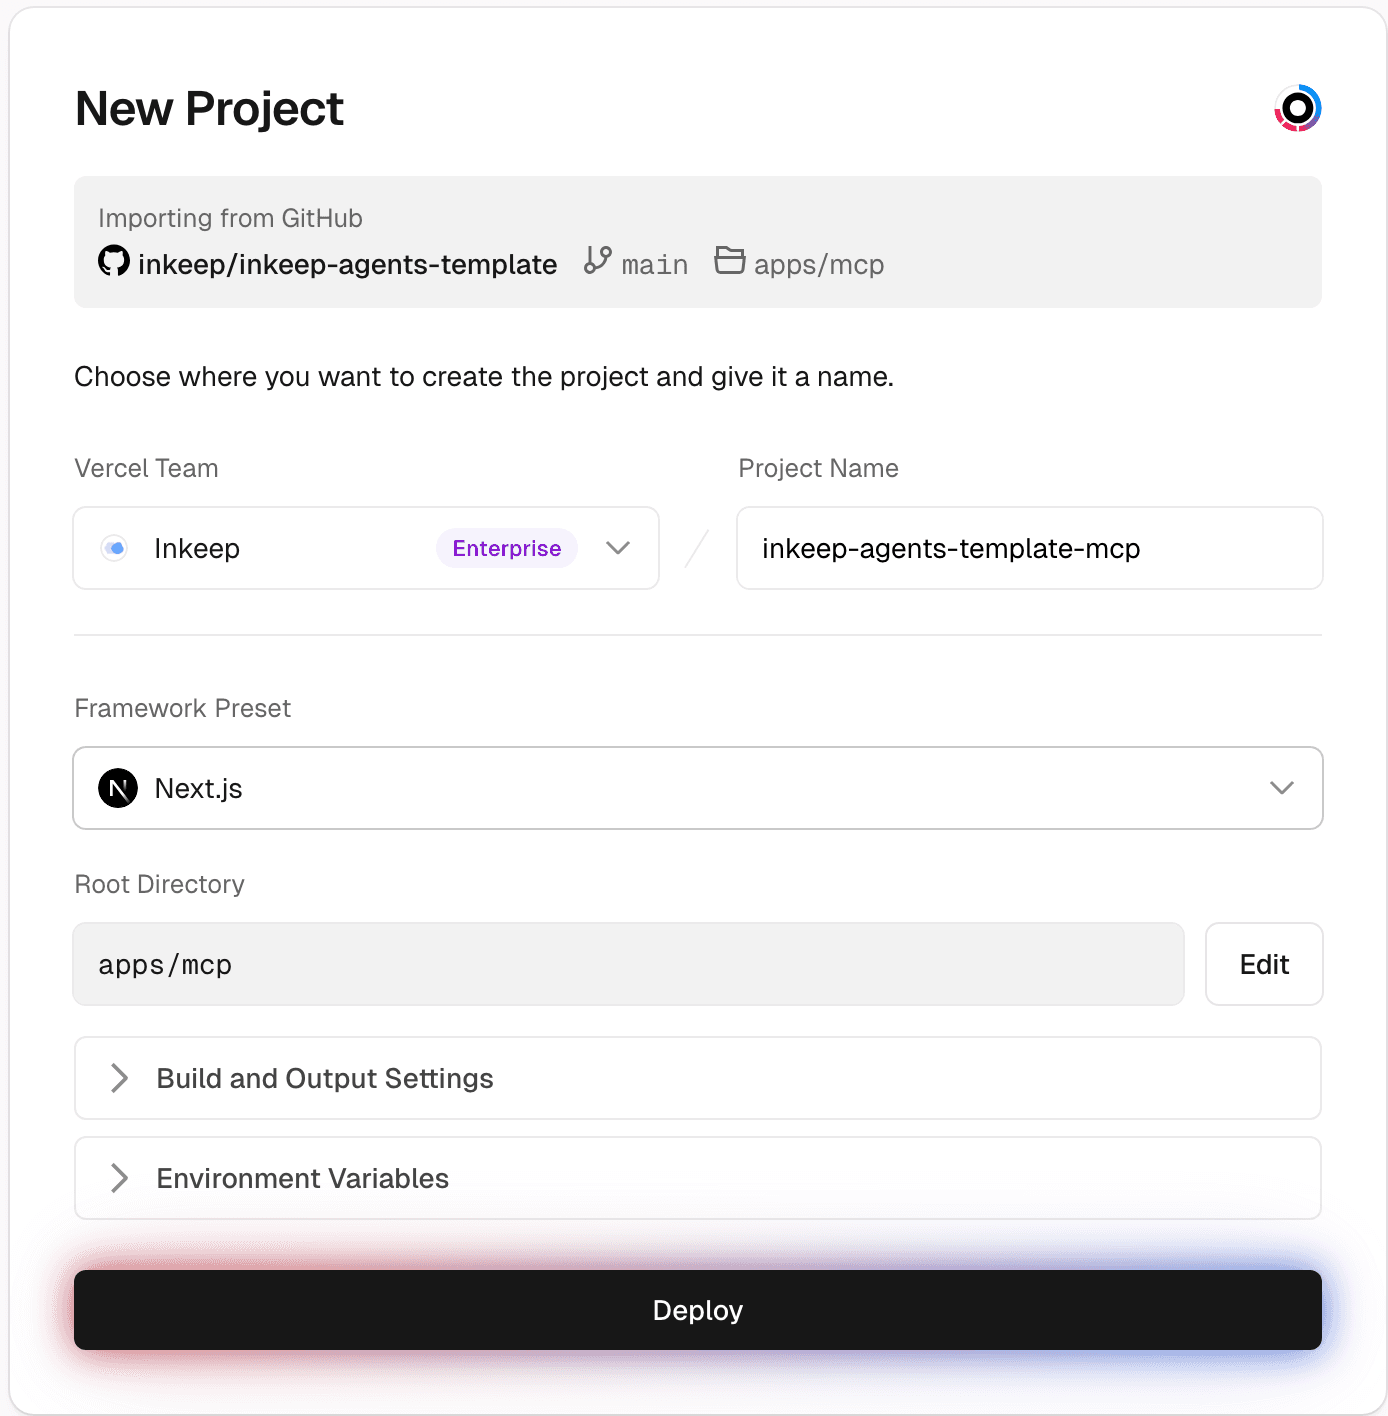
Step 9: Create a Vercel project for your MCP server (optional)

The Framework Preset should be "Next.js" and the Root Directory should be
apps/mcp.
For more information on how to add MCP servers to your project, see Create MCP Servers.
Push your Agent
Step 1: Configure your root .env file
Step 2: Create a cloud configuration file
Create a new configuration file named inkeep-cloud.config.ts in your project's src directory, alongside your existing configuration file.
Step 3: Push your Agent
Pull your Agent
Function Tools with Vercel Sandbox
When deploying to serverless environments like Vercel, you can configure function tools to execute in Vercel Sandbox MicroVMs instead of your Agent's runtime service. This is required for serverless platforms since child process spawning is restricted.
Why Use Vercel Sandbox?
When to use each provider:
- Native - Use for traditional cloud deployments (VMs, Docker, Kubernetes), self-hosted servers, or local development
- Vercel Sandbox - Required for serverless platforms (Vercel, AWS Lambda, etc.) or if you'd like to isolate tool executions
Setting Up Vercel Sandbox
Step 1: Get Vercel Credentials
You'll need three credentials from your Vercel account:
- Vercel Token - Create an access token at vercel.com/account/tokens
- Team ID - Find in your team settings at vercel.com/teams
- Project ID - Find in your Vercel project settings
Step 2: Configure Sandbox in Your Application
Update your Run API to use Vercel Sandbox.
In the apps/run-api/src folder, create a sandbox.ts file:
Import it into your index.ts file:
Step 3: Add Environment Variables to Run API
Add these environment variables in your Vercel project to your Run API app: