Inkeep Content Writer
Copy page
Configure the Inkeep Content Writer agent and trigger it from GitHub and Zendesk.
Overview
The Inkeep Content Writer ensures that your documentation is comprehensive and up-to-date with the latest production changes.
Given a GitHub pull request or a solved Zendesk support ticket, the Content Writer will analyze your documentation for gaps and generate updates for you to review and publish.
You can also request documentation changes directly from Slack by mentioning @inkeep.
Customizing the Content Writer
The Inkeep team will deploy and set up the Content Writer in your Inkeep Enterprise tenant. Once set up, you can fully customize the agent to fit your needs.
Customization options include:
- Skills: Reusable instructions like style guides and best practices that you can attach to sub-agents.
- Prompts: Tailored prompts that sub-agents use to coordinate documentation updates.
- Tools: Tools give the Content Writer access to external systems and services that it can use to research and ground its output.
- Output CMS: The CMS where the documentation updates will be published, such as GitHub, Zendesk, or Notion.
- Triggers: The events that trigger the Content Writer.
GitHub integration
Use the GitHub integration to trigger the Content Writer on merged pull requests or when you mention @inkeep in a pull request comment or review.
Required permissions and app installation
To use Content Writer with GitHub, install the GitHub Work App and grant it access to the necessary repositories. You must be a GitHub admin to install the GitHub Work App.
The GitHub App requests the following permissions:
| Permission | Access | Reason |
|---|---|---|
| Contents | Read and write | Read repository files and propose documentation changes |
| Pull requests | Read and write | Read PR context and create new documentation PRs |
| Metadata | Read | Identify repositories and basic GitHub resources |
| Members | Read | Resolve organization and repository membership context |
| Issues | Read | Use issue context when Content Writer is triggered from issue-linked PRs |
| Discussions | Read | Use discussion context when relevant to a writing request |
| Checks | Read and write | Report Content Writer status back to GitHub |
Follow the steps below to install and configure the GitHub Work App.
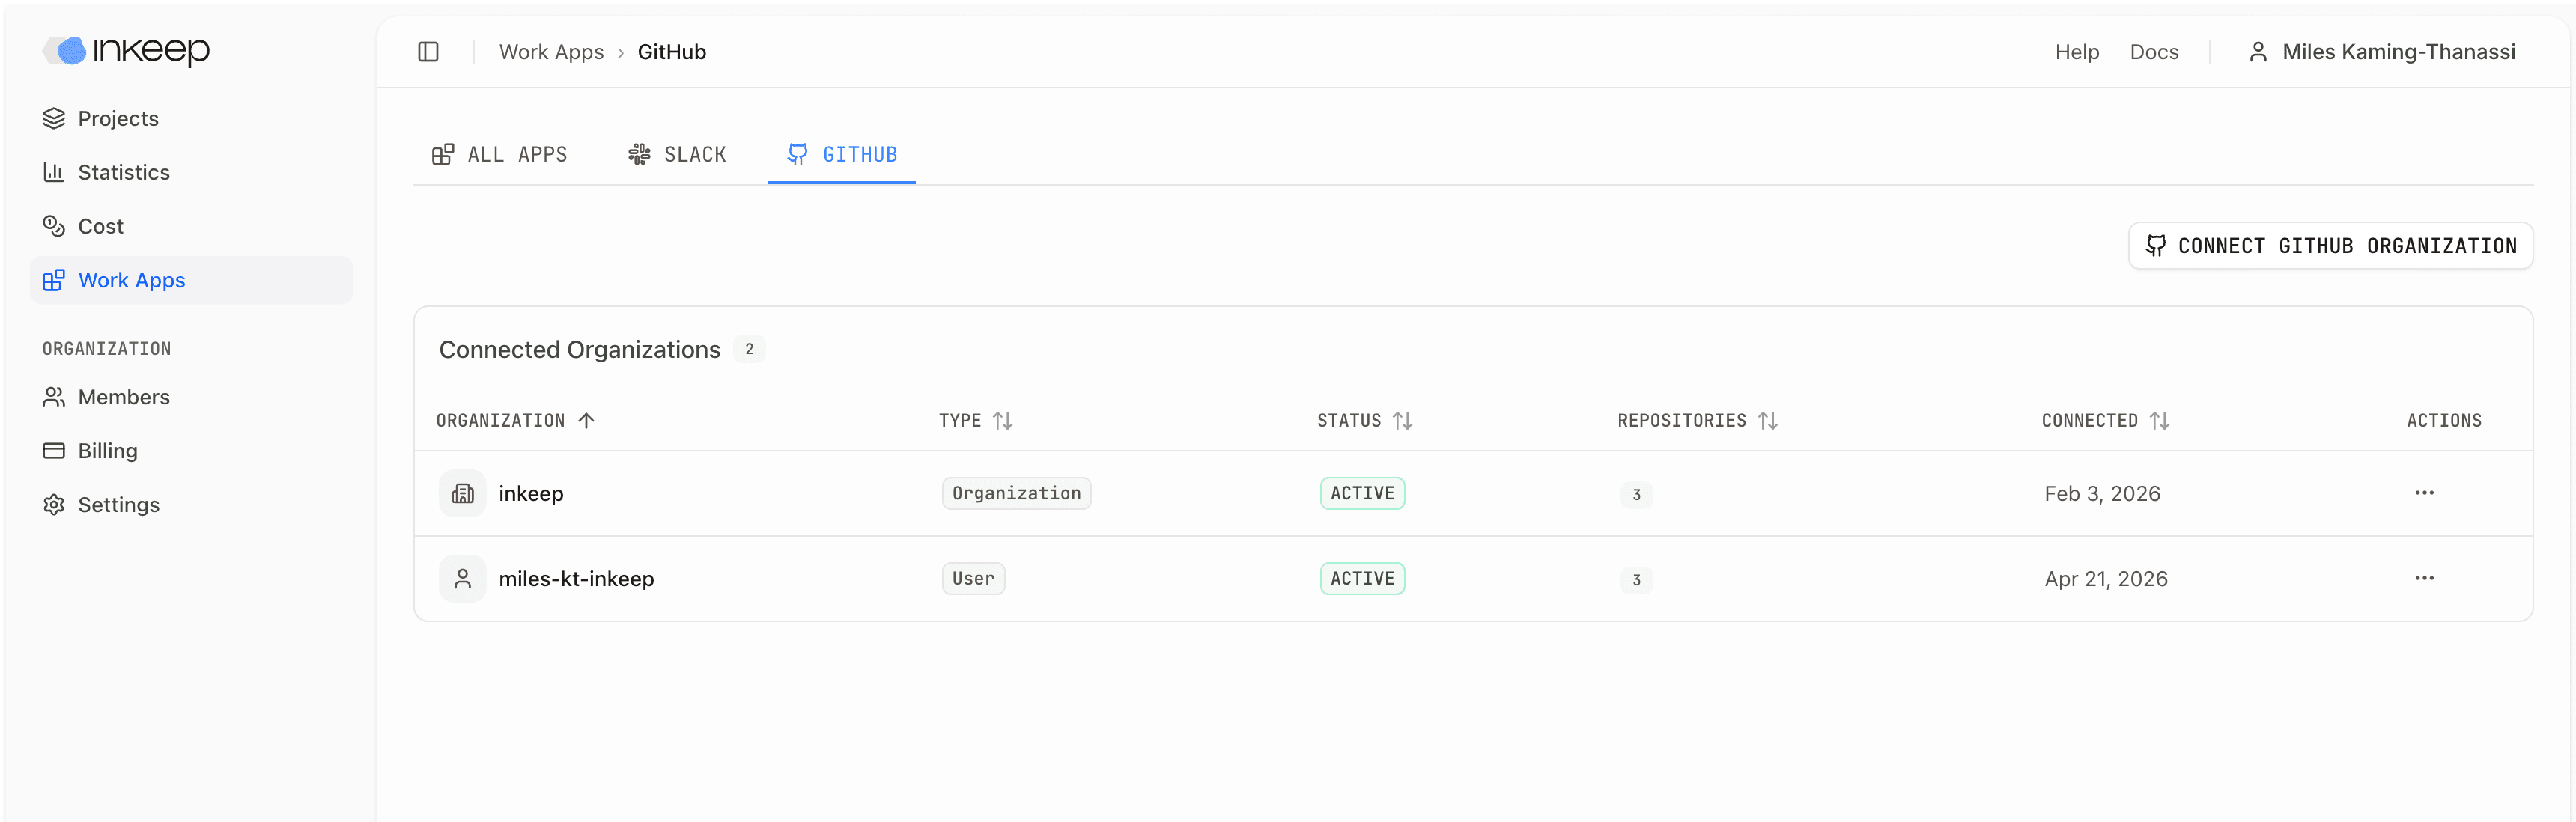
Install the Inkeep GitHub app
From app.inkeep.com/<your-tenant-id>/work-apps/github, click Connect GitHub Organization.
Add the Content Writer workflow
Add the following workflow to each repository where you want comment-based or merge-based triggers.
Store the trigger URL
Add the Content Writer trigger URL to your repository secrets as INKEEP_CONTENT_WRITER_TRIGGER_URL.
The trigger URL can be found at https://app.inkeep.com/<your-tenant-id>/projects/content-writer/triggers?tab=webhooks.
Triggering the Content Writer from GitHub
The workflow triggers the Content Writer in the following cases:
- Mention
@inkeepin a pull request comment, review comment, or review body to provide feedback to the Content Writer. - Merge a pull request to trigger post-merge content follow-up.
The Inkeep team can help you customize the GitHub workflow to fit your needs.
Zendesk integration
Use the Zendesk integration to trigger the Content Writer from support tickets.
Create a Zendesk role
Create a custom Zendesk role for the service account that the Content Writer will use.
Open Roles
In Zendesk Admin Center, go to People → Roles.
Create the role
Click Create role.
Select permissions
Select these Support permissions for the Content Writer service account role:
| Permission | Setting |
|---|---|
| Tickets they can access | Within their groups |
| Groups they can assign tickets to | Assign tickets to any group |
| Brands they can assign tickets to | Only assign tickets to brands they belong to |
| Manage suspended tickets | Not allowed |
| Edit ticket properties | Disabled |
| Commenting permissions | Private comments only |
Create a Zendesk service account
Create a Zendesk team member that Content Writer will use to access ticket data.
Open Team members
In Zendesk Admin Center, go to People → Team members.
Add a team member
Click Add team member.
Create the service account user
Create a new user with a shared email address, such as support-bot@yourcompany.com.
Assign the custom role
Set the Support role to the custom service account role you created.
Add the service account to groups
Add the Zendesk service account to the groups that contain the tickets Content Writer should be able to read.
Open Groups
In Zendesk Admin Center, go to People → Groups.
Add the service account
Add the service account to each group that Content Writer should access.
Create an API token
Create an API token for the Zendesk service account.
Open API tokens
In Zendesk Admin Center, go to Apps and integrations → APIs → API tokens.
Add the token
Click Add API token and name it something like Inkeep Content Writer Integration.
Save the token
Click Save, then copy and store the token. Zendesk will not show the full token again after you leave the page.
Connect to the Zendesk MCP
Connect the Zendesk service account token to the Zendesk MCP server in Inkeep.
Open your Content Writer project
Log in to Inkeep Enterprise and open your Content Writer project.
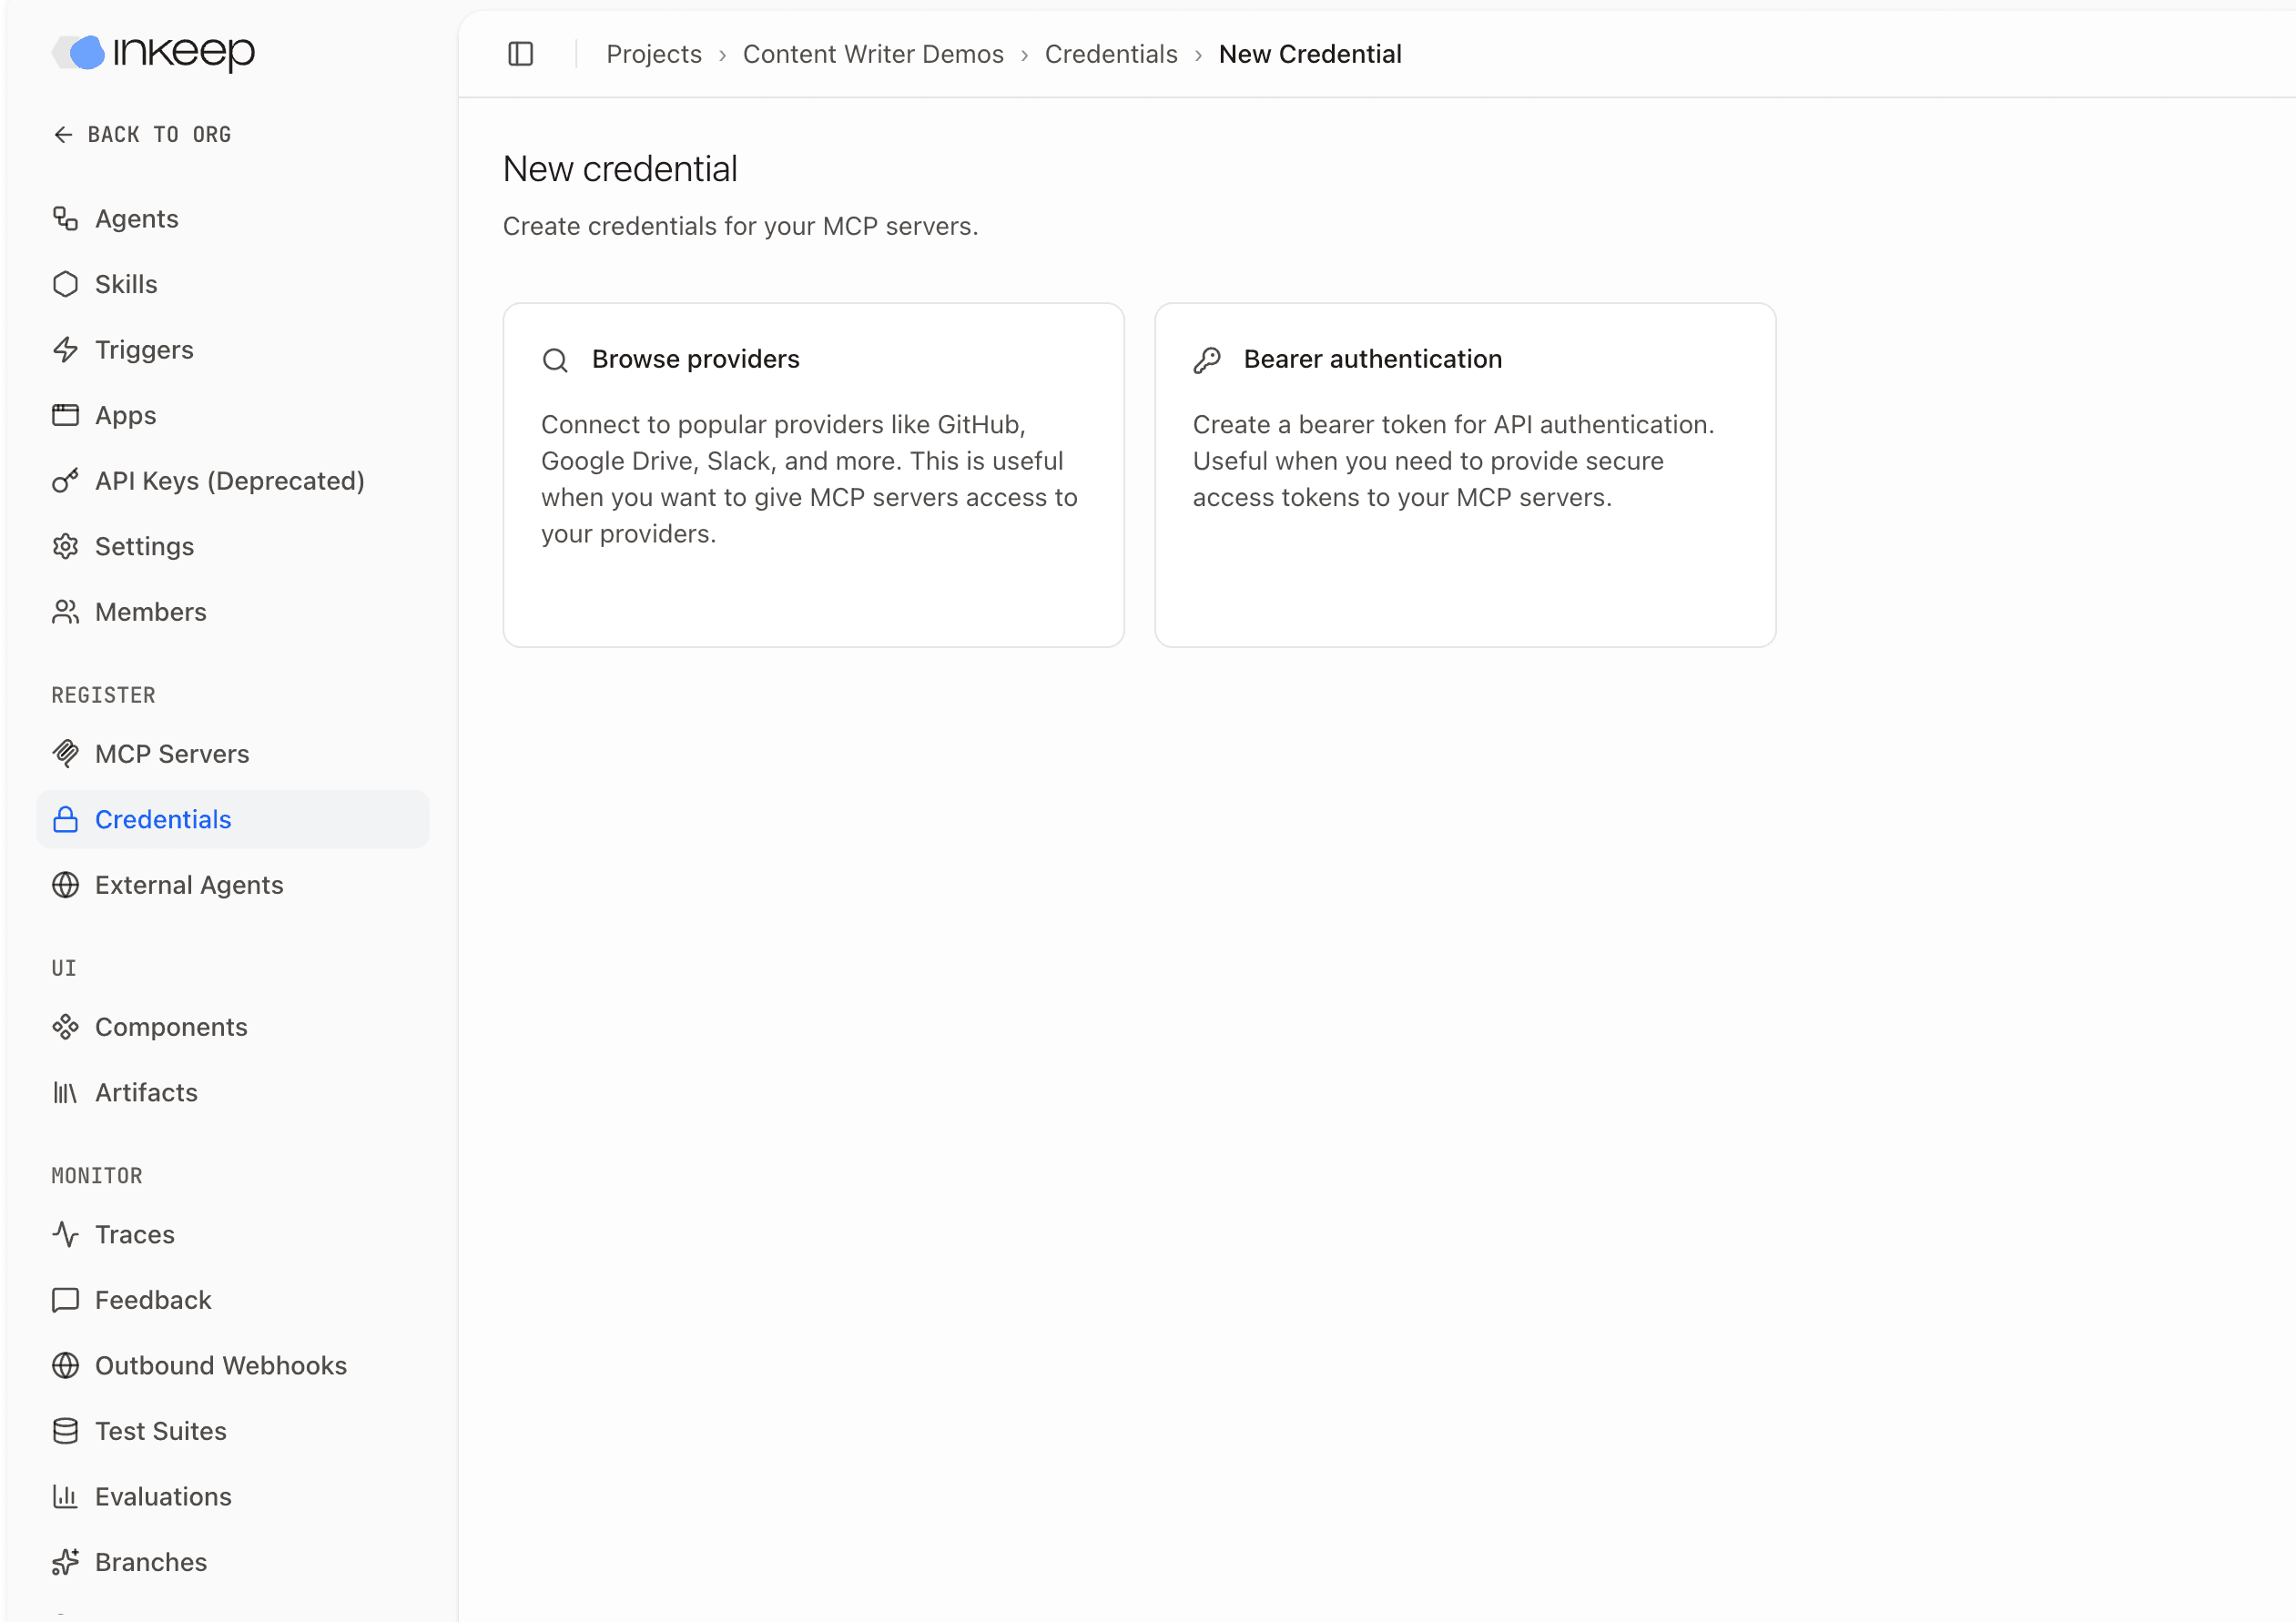
Fill in credential details
Use these values:
| Field | Value |
|---|---|
| Name | A credential name, such as Zendesk Content Writer Integration |
| API Key | The API token for the Zendesk service account created previously |
Add Zendesk headers
Under Headers, add:
| Header | Value |
|---|---|
x-zendesk-email | The service account email address |
x-zendesk-subdomain | Your Zendesk subdomain. For yourcompany.zendesk.com, use yourcompany. |
Link the credential to the MCP server
Check Link this credential to an MCP server, then select the Zendesk MCP server from the dropdown.
Create the Zendesk webhook trigger
Create a Zendesk webhook that sends ticket updates to the Content Writer.
Open Webhooks in Zendesk
In Zendesk Admin Center, go to Apps and integrations → Webhooks. You can also search for Webhooks from Admin Center.
Create a webhook
Click Create webhook. Under Select a way to connect, choose Trigger or automation.
Configure the webhook
Use these settings:
| Field | Value |
|---|---|
| Endpoint URL | Your Content Writer webhook URL. Find it at https://app.inkeep.com/<your-tenant-id>/projects/content-writer/triggers?tab=webhooks, or contact your Inkeep account team if it has not been provisioned yet. |
| Request method | POST |
| Request format | JSON |
| Authentication | None |
Create the webhook
Click Create webhook.
Share the webhook secret
Open the new webhook, find Secret key, click Reveal secret, and send it to the Inkeep team through your shared secure credential store.
Customize the Zendesk trigger
In the following example, the trigger is configured to send solved tickets with the inkeep_content_writer tag to the Content Writer. The Inkeep team can help you customize the trigger to fit your needs.
Set the category
Set Trigger Category to Notifications.
Add conditions
Under Conditions, configure the trigger to meet ALL of these conditions:
- Ticket → Tags | Contains at least one of the following |
inkeep_content_writer - Ticket → Status category | Is | Solved
This trigger runs when a ticket is solved and the inkeep_content_writer tag is present.
Add the webhook action
Under Actions, add Notify by → Active webhook, then select the webhook you created.
Enable the trigger
Click Create to enable the trigger.